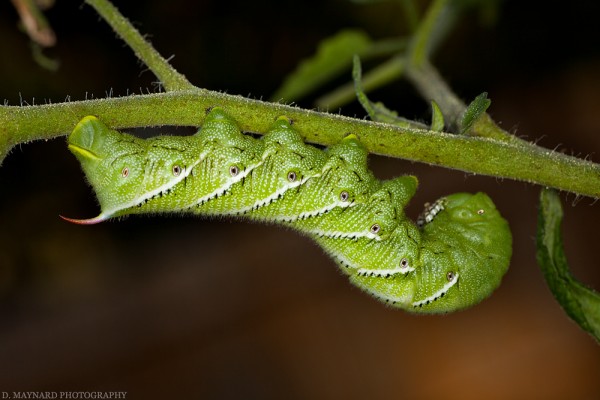
For most of us across the USA, it has been an unusually cold winter, from which we are eagerly anticipating the transition in to the warmth of spring. For macro and nature photographers the wait is even more unbearable than for most.
Gear sits cleaned, packed, and ready to go in anticipation of the return of the wonderful critters we will photograph as soon as the warmer spring breezes signal them to once again show themselves to us.
So as we enter this new season, here’s three essential tips to successful nature macro photography. And while far from a comprehensive list, I hope these tidbits somehow assist you as you embark on this year’s quest for your macro masterpieces.
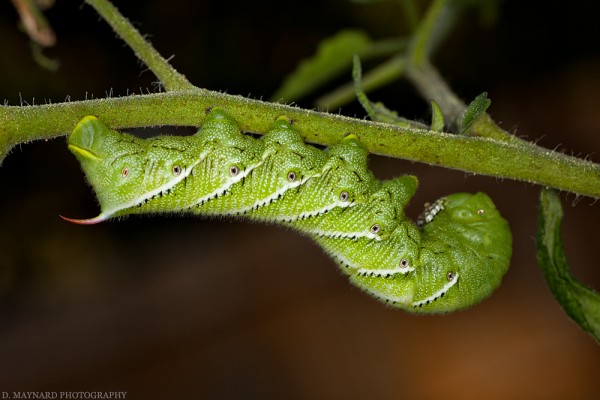
1. Bring your patience.
While it is natural to want to capture several different subjects while you are out, those “killer shots” often come from finding the right subject, and then being willing to wait them out. Allow yourself time to observe their natural behaviors and patterns. From feeding to mating, from hiding to hunting, they each have stories to tell. If you allow yourself time to observe and understand your subject, you will better be able tell that story photographically.
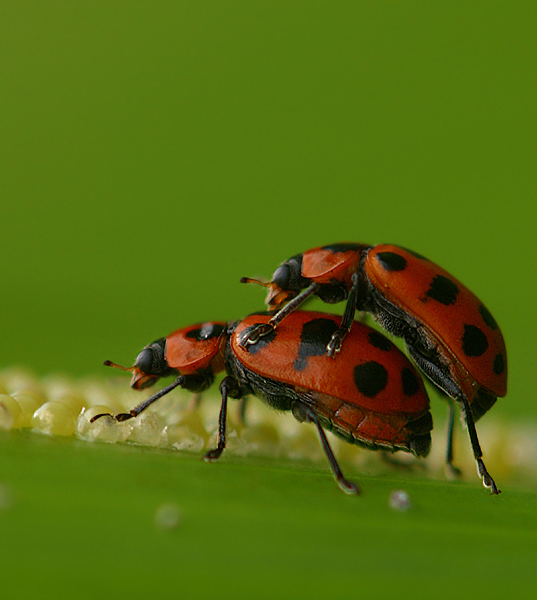
2. Bring a plan.
While it may seem like common sense, we often fail to plan our shoots adequately. And sometimes the smallest detail can shorten our time shooting, make it less pleasant, or even derail it altogether. Plan ahead by asking yourself, do I have the right clothes for the anticipated weather? The right shoes for how far I’ll be walking? These questions in advance can end up saving a day out shooting nature and macro.
A few often overlooked items that I consider a requirement, and always have in my pack are:
- bottled water
- bug repellent
- a small first aid kit.
I often end up in relatively remote locations with no one around. But even if only shooting at a local park, a quickly addressed developing headache, or treating/preventing an unexpected sting(s) from a critter can extend your outing.
And if you are going to be way out there, I highly recommend a smart phone with GPS functions and a full battery. They can be a real life saver if you are lost or hurt.
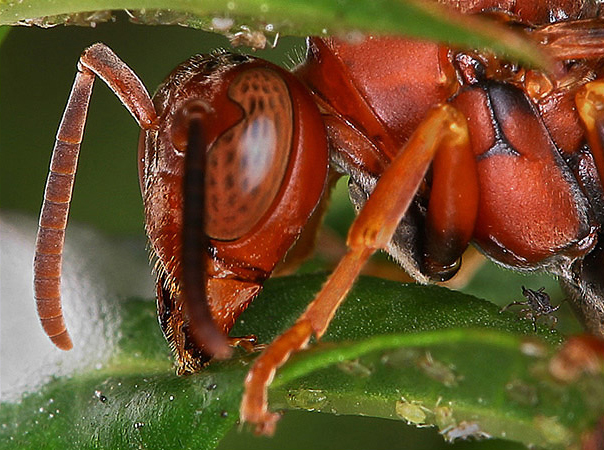
3. Bring the right gear for the job.
This is an extension of the last topic to a degree. If we are embarking on a nature/macro shoot, we certainly want to plan for and take all the gear we’ll need. However, an over-packed bag can be cumbersome and tiring to lug around. This squelches our enjoyment, and distracts us from our shoot. So keep it essential and as light as possible.
The most important equipment for successful macro photography is as follows:
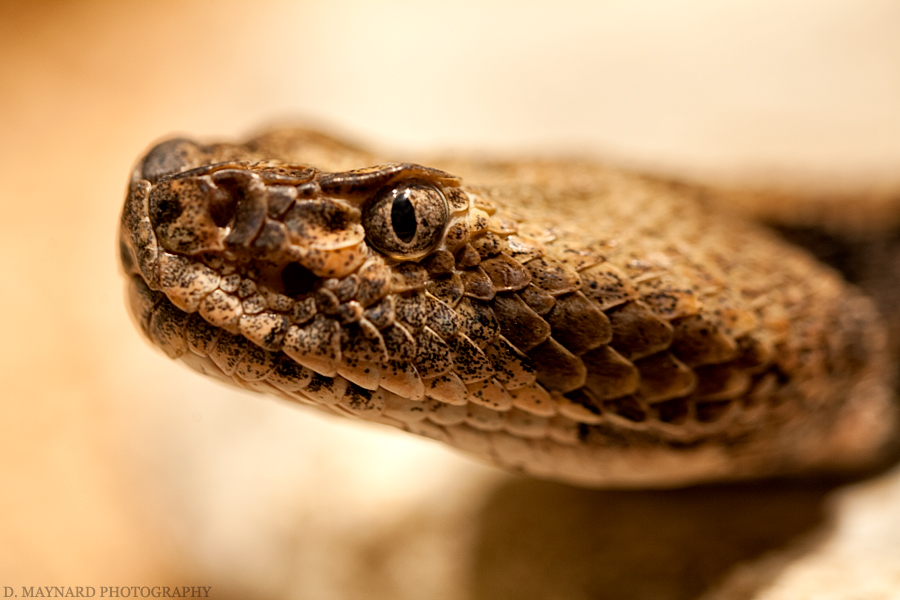
- 1 to 2 high quality “Macro” lenses – I only use true Prime (fixed focal length) macro lenses for my macro work. A very short minimum focusing distance (MFD), at least a 1:1 ratio, and crisp healthy magnification are all vital to me. Focal length is less important than the MFD of the lens, because with a 60mm lens I can do an extreme close up of a cricket if my sensor (or film plane) is only inches from the subject. On the other hand, if I am dealing with a poisonous or biting creature, I may want to be back a bit further, so I may go with a 90mm or 180mm to maintain a bit more physical distance while still achieving a close up shot.
My current “go-to” lens for most macro work, (and astoundingly crisp shots) is the TAMRON SP 90MM F/2.8 Di VC USD 1: MACRO. I should note that I often use this lens for portraiture as well. This lens gives me choices as far as distance to subject with its 90mm, MFD of 11 inches, and 1:1 ratio. But the VC (Vibration Compensation) is the real clincher for me. The lens’s incredibly capable stabilizing ability allow me to follow my subject hand-held even in challenging lighting situations, while still getting a sharp, focused shot.
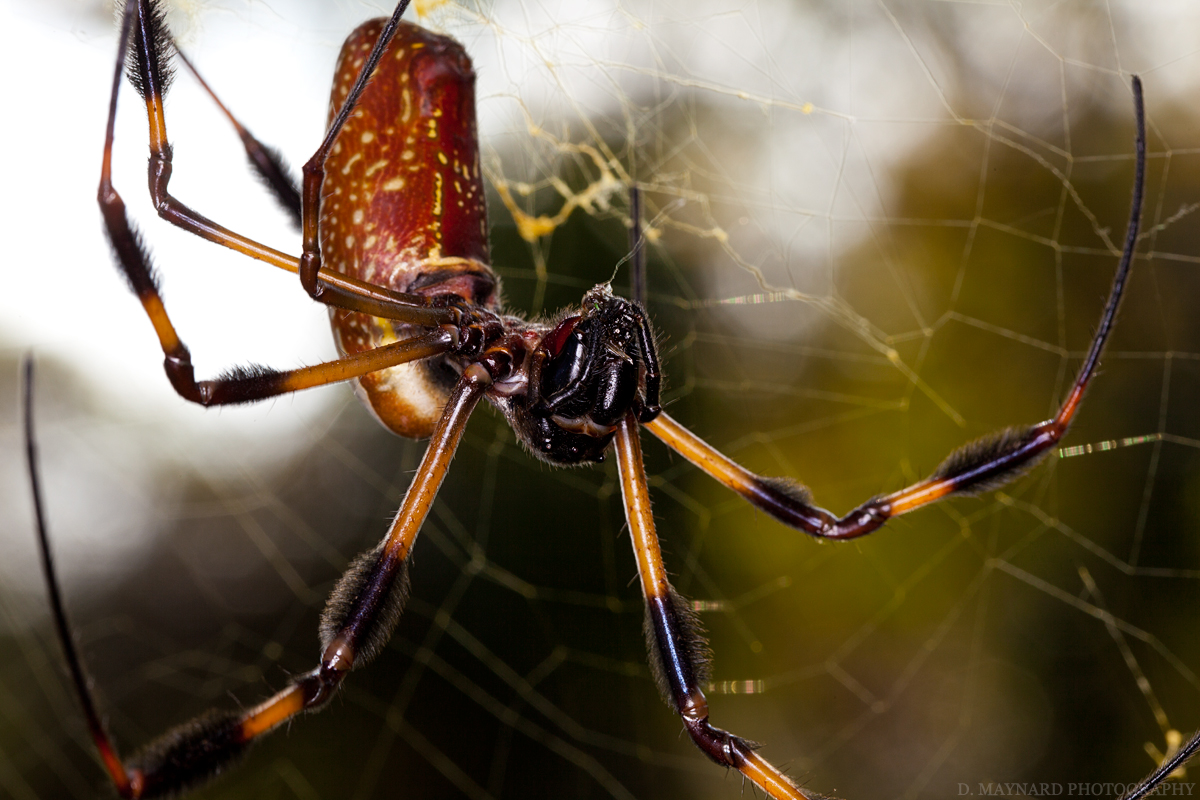
- Lighting – Natural light shots can be beautiful if balanced well. But if you really want to control your depth of field (DOF) you will need flash. At the super close ranges and high magnifications we use to achieve great macro photos, the DOF, (or portion that is in focus) naturally becomes very shallow. To extend this range, we need to close down our aperture (higher f-stop value). And to do this, we compensate with flash.
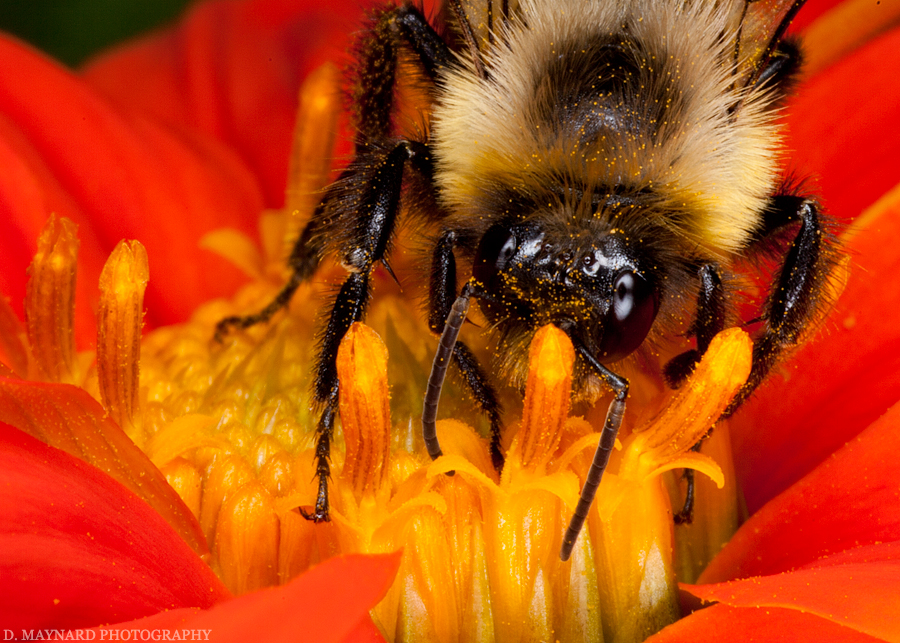
Bonus tip/example: At 10 inches from subject to sensor, and set at f/2.8, the eye of a bee may be the only portion in focus. But applying a flash and going to f/19 may bring the entire body into focus, showing every little hair and pollen crystal on the tiny creature. This is the detail I want in my macro photos.
Many macro photographers including myself often prefer a “ring light” for much of their work. This is a ring shaped flash that goes all the way around your lens. It is a dynamic light that wraps well, and allows the higher apertures we are after. There are many brands and configurations available. But one of may favorites for macro is the Nissin MF 18 Ring Flash. This light is split controlled allowing each half of the “ring” to be independently controlled, or adjusted together. Very versatile!
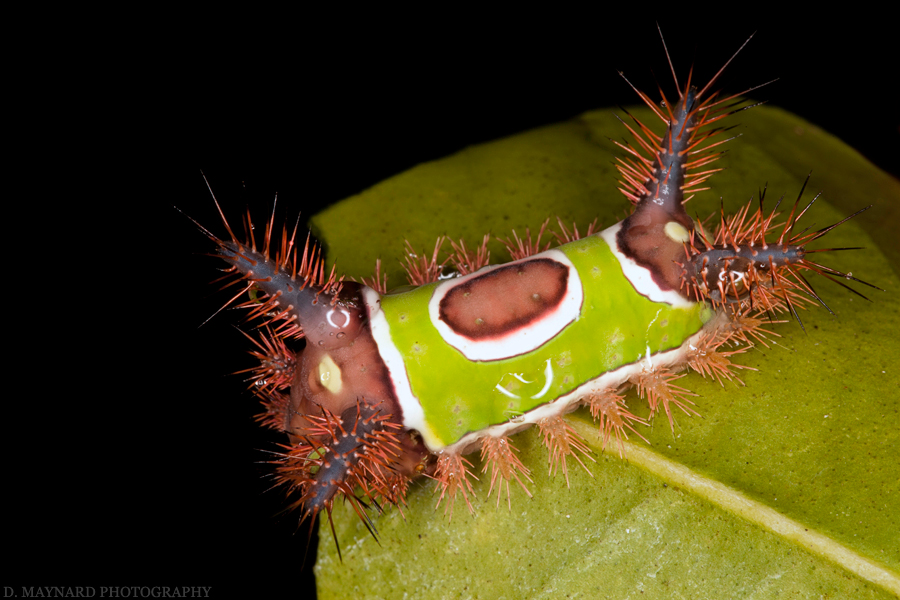
Alternatively, I sometimes want to produce the soft and dramatic light to shadow fall off we often use in human portraits for a macro subject (See below). For this, a flash placed off camera can give me lovely results. Diffusion is key with flash, so I use a small softbox or diffuser panel such as the Rogue Flashbenders or even a bounce card on my flash to achieve a softer light. Remember the rule, “The larger the light source, the softer the light.” When photographing tiny creatures, even smaller diffusers seem huge.
For me, these are the essentials. But by far the most important thing in nature/macro photography is to have fun and enjoy it. So get out there and commune with and capture the beautiful natural world we are so fortunate to enjoy!
