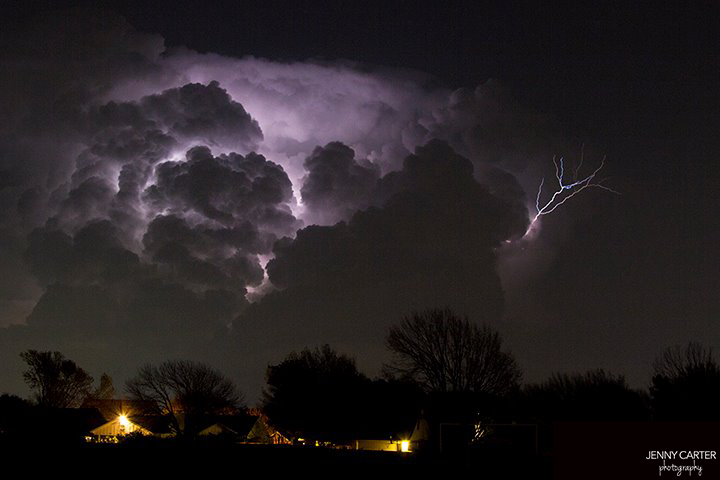
At the first crack of thunder, I start getting excited! I drop what I’m doing, grab my camera and tripod and head to my “go to” spot to capture lightning photos.
In this tutorial, I’ll share with you the equipment I use and some recommended camera settings. First things first – that’s safety! No picture is worth putting yourself in danger. I am by no means a meteorologist, although there is one in my family so maybe it’s in the genes…or maybe not.
Here are some Lightning Safety Tips you may want to review.
Equipment:
- DSLR Camera
- Corded Remote
- Tripod
- Wide Angle Lens (I use an 11-16mm)
Camera Settings:
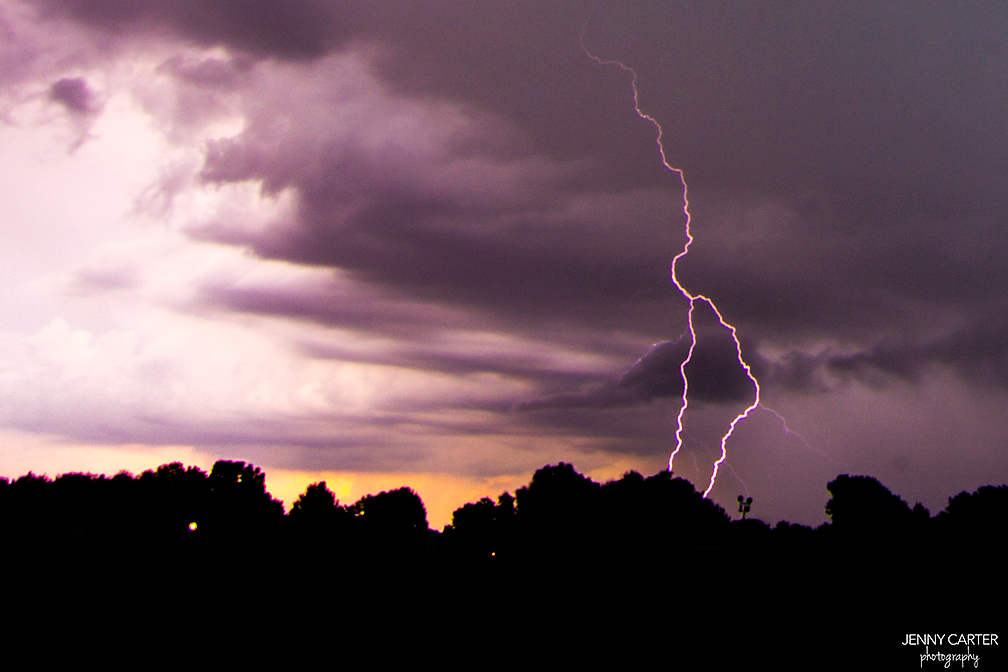
Camera settings will vary depending on the time of day, frequency of lightning and personal preference. For the above picture I used the following settings.
- Set camera to BULB mode
- Set lens to manual. To focus, start by setting it to infinity (it will look like a sideways figure eight) then make small adjustments. Take a few practice shots and adjust your lens until the objects in the background are in focus. This allows your camera to immediately take the picture when you press the button and you will have a better chance of capturing a bolt of lightning.
- Focal length: 11mm
- ISO: 100
- F/22
- Using the corded remote – I held the shutter open for 5 seconds.
Now all you have to do is wait. I try to observe a pattern and right before I think it’s going to lightning, I hold the shutter open using my remote. I’m sure there is some science to it, but I just enjoy being outside and in the moment. Yes, I’ve missed some shots but I’ve also captured some good ones too!
Below are a few more pictures and settings.
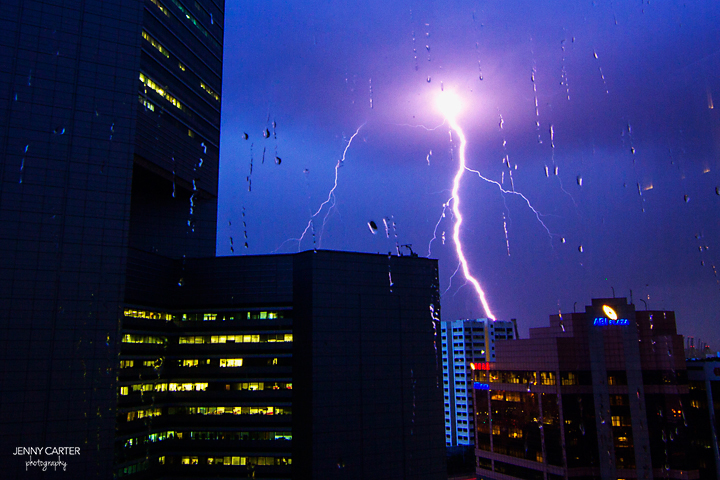 9.0 sec; f/18; ISO 100
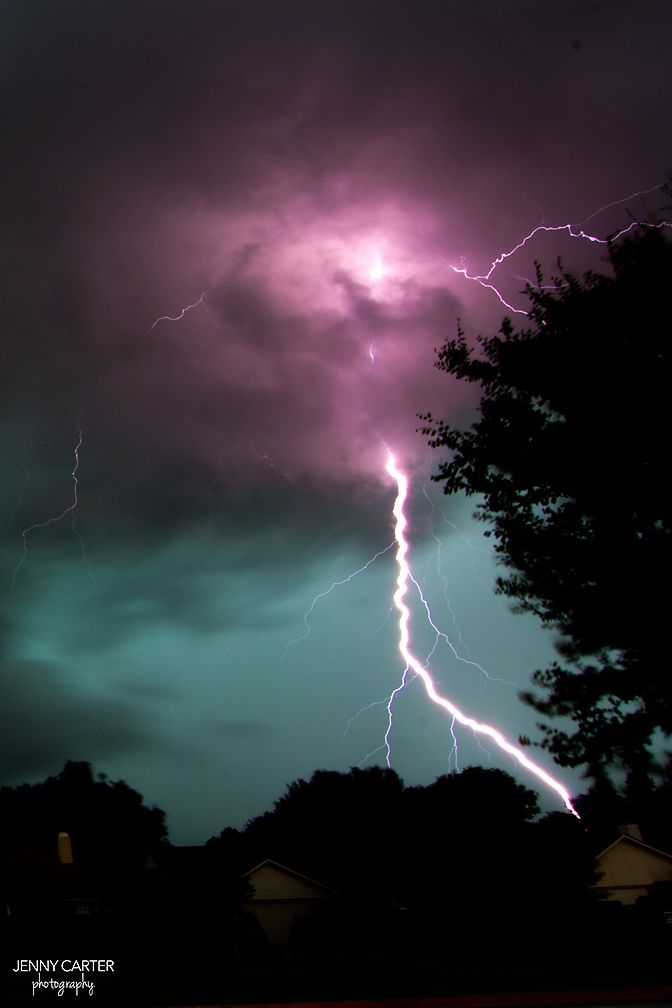 11.0 sec; f/22; ISO 100

25.0 sec; f/6.3; ISO 100
Jenny Carter is a portrait and landscape photographer based out of Dallas, Texas. You can find her on Facebook and see her view her work here.
